

If you’re interested in building custom models, you can take the fun a couple of steps further by creating your own decals. Here’s a brief tutorial on how to do so.
When creating a custom model there are a couple of options to consider.
Option 1. Select the aircraft and the airline livery you wish to replicate. Then search for and purchase the most appropriate donor model. Finally create the decals.
Option 2. Pre-purchase a donor model and then search for an airline livery that you want to put on it.
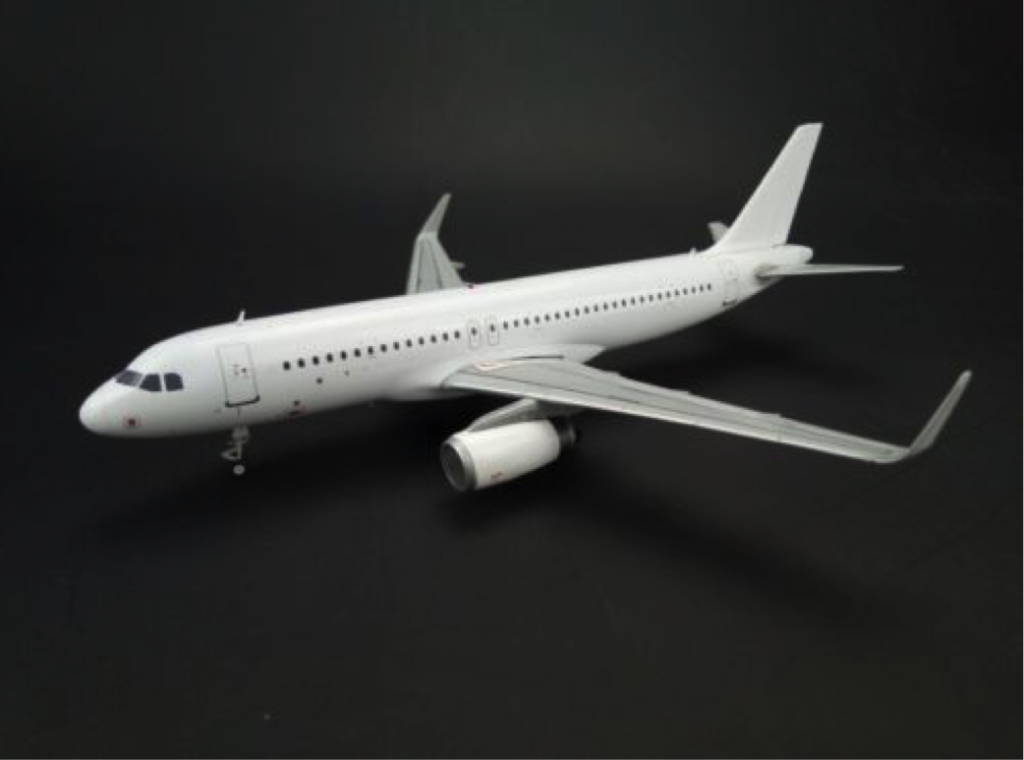
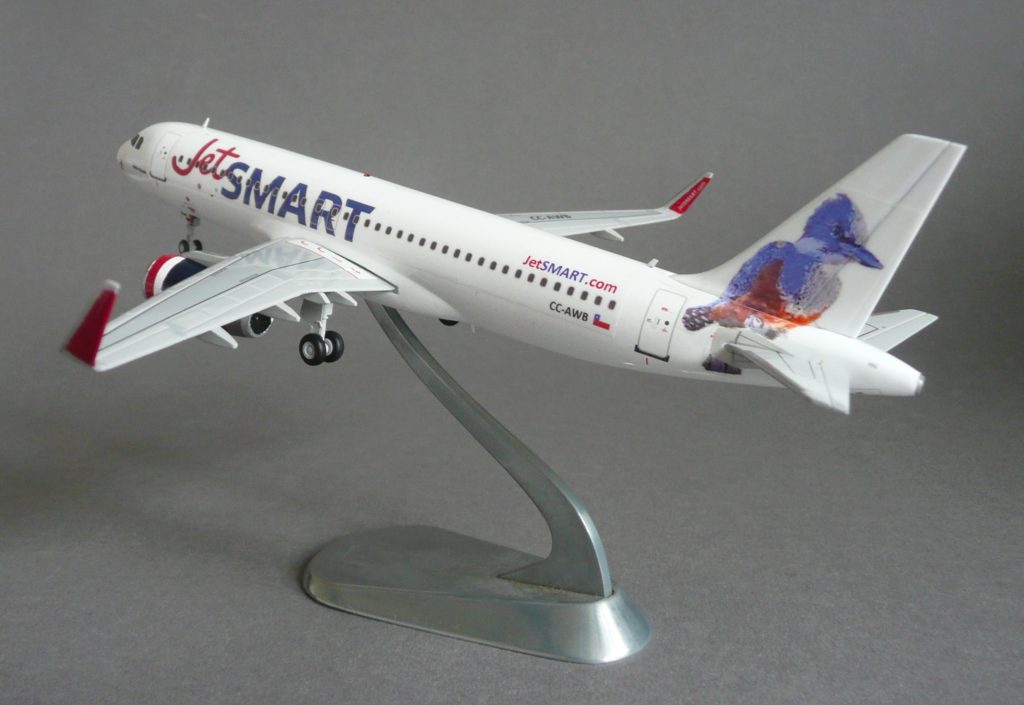
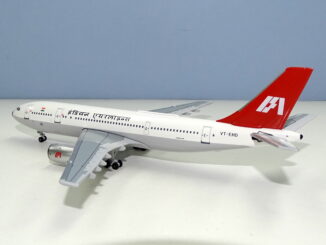
In respect to my JetSMART project Option 2 was the only choice open to me having purchased (in error) a 1/200 scale blank JCWings A320 with IAE(V2500) engines and sharklets instead of the CFM power units I intended. I then browsed the internet and stumbled upon an image of the JetSMART A320 Martin Pescador (Kingfisher) tail which looked both appealing and simple to create.
Getting Started
For this project I used Microsoft’s Operating System and the following pre-installed programs, Photo Editor, Microsoft Excel, and Paint)
- In Desktop open a new folder and give it an appropriate name.
- Next use Google to search for images of an A320 with IAE engines.
- Having found photos of JetSmart, refine the search to select the best aircraft profile image, which is then copied and pasted into the newly created folder.
- Using Google once more search for the “JetSMART logo” and copy and paste it to the folder. Similarly capture an image of the flag of Chile.
- Using the aircraft profile photo open it in Microsoft Photo Editor and crop an image of the tail and save it as “tail image right”. Next, open it in Paint to edit out any unwanted parts of the image. Having saved the changes re-open it in Microsoft Photo Editor and create a mirror image and save that as “tail image left”, thus giving both sides of the tail.
- Open a Microsoft Excel spreadsheet and import (copy & paste) 2 complete profile images (left and right sides), 2 x the airline logos, and both left and right tail images. (Note: It is important to do this in order stated). Refer to the image below.

- Then create window and door patterns using the shapes available in Excel and size and line them up with the pattern on the profile photos. Also size and move the airline logo into its correct position (windows will appear over the logo).
- Use the Text Box in Excel to add other script that appears on the aircraft (JetSmart.com, registration number, winglet logos, aircraft name etc). You can format and move the text boxes to your desire, but it may take a bit of trial and error to get the correct script sizes.
- The tail images can now be sized to match that on the aircraft profile photos, but to take account of the curve in the rear fuselage it is necessary to vertically elongate them.
- Next move the aircraft profile images and set a print area to just include the door, window and tail patterns and do a trial printout. Measure the distance between the front and rear door lines and compare it with the same points on the donor model. It is trial and error to get the print size to match by using print preview, then page set up, then use the adjust to fit % of normal size. My set up of 69% gives the correct size for 1/200 scale. A 35% setting should be correct for 1/400 scale.
- When satisfied that the right print size has been selected, do a print out on clear inkjet decal paper and seal it with 3 spray coats of Humbrol acrylic gloss varnish .When dry cut and apply as normal waterslide decals. I always duplicate the decals in case of mishaps. (see below image of completed decal sheet).
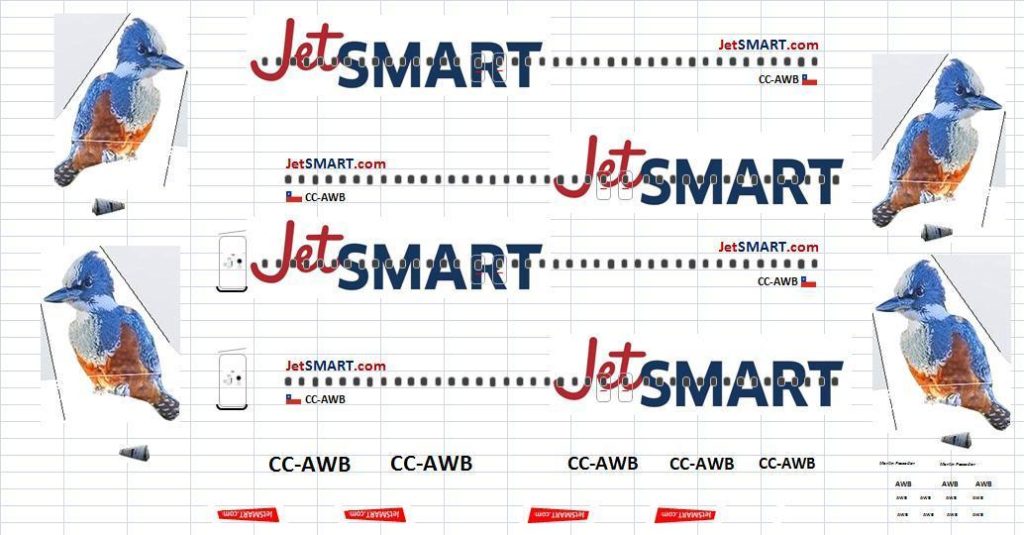
JetSMART completed decal sheet.
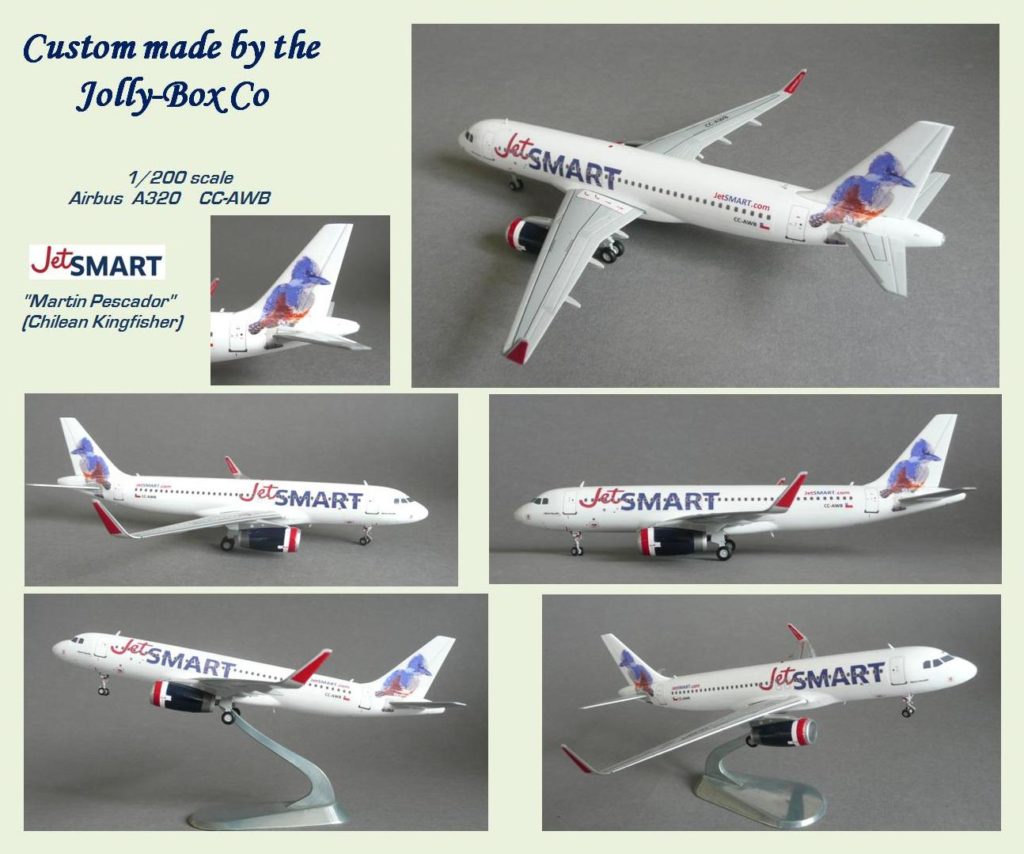
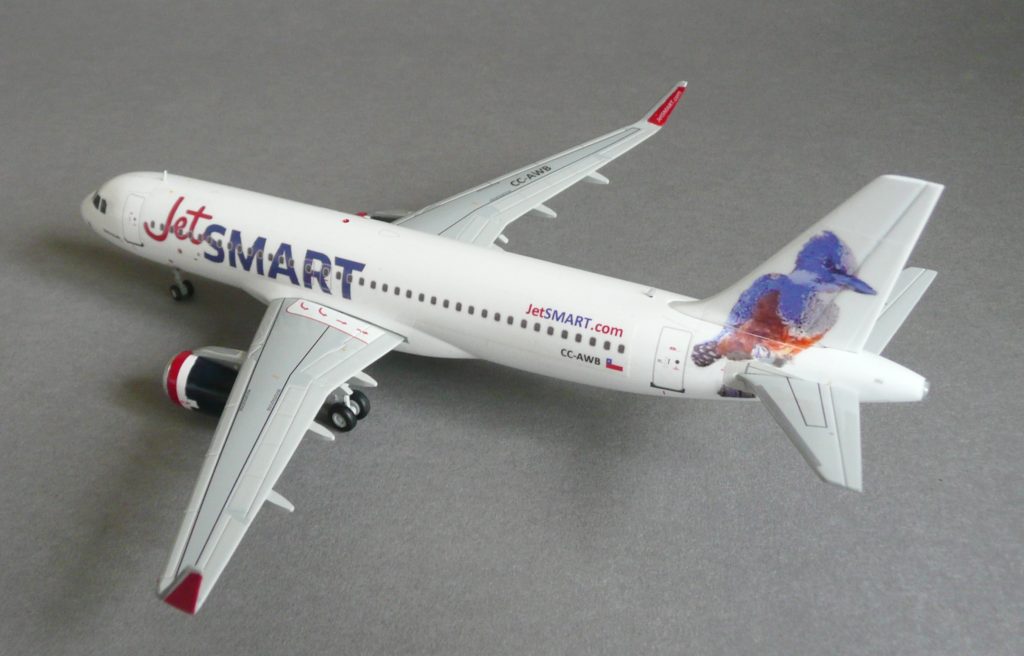
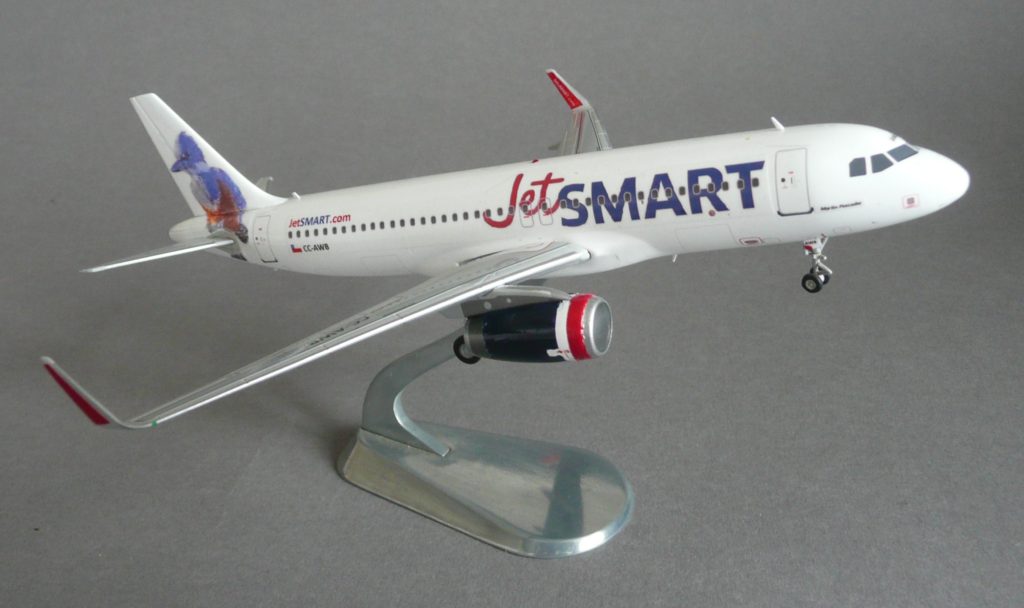
For this particular donor model I was able to leave the tampo printed doors on the donor model and only had to remove the windows with acetone before replacing them with the decals. I hope you’ve enjoyed this brief tutorial on how to create custom decals for your model. Happy modeling!
Thanks Guys for publishing the article. I do have a 1/400 project in mind but am struggling to find the right A320 donor model.
What do you find is the best decal paper to use?
Thanks!
Greetings Brandon.
As I only have a basic home printer I am limited to water slide inkjet decal paper which is available in clear or white (I generally use clear). It is thicker than those professionally produced decals that you get in model kits or as supplied from say DrawDecal, so decal lines are slightly visible but they are very easy to apply compared to the ultra thin silk screen printed type.. Also you have to remember that you cannot print white with an inkjet printer.
If you have a laser printer you can get acrylic water slide decal paper which is much thinner. Inkjet paper is widely available on eBay in A4, but for laser printers the acrylic paper is not so common.
After I have applied inkjet decals I coat the whole model with neat Humbrol Clear Cote which helps to diminish decal visibility.
I hope this is of help to you.
Hello dear friend, I would like to know if there is the possibility of being able to share the exel file with me, try to do it myself, but it did not work out to me 🙁