
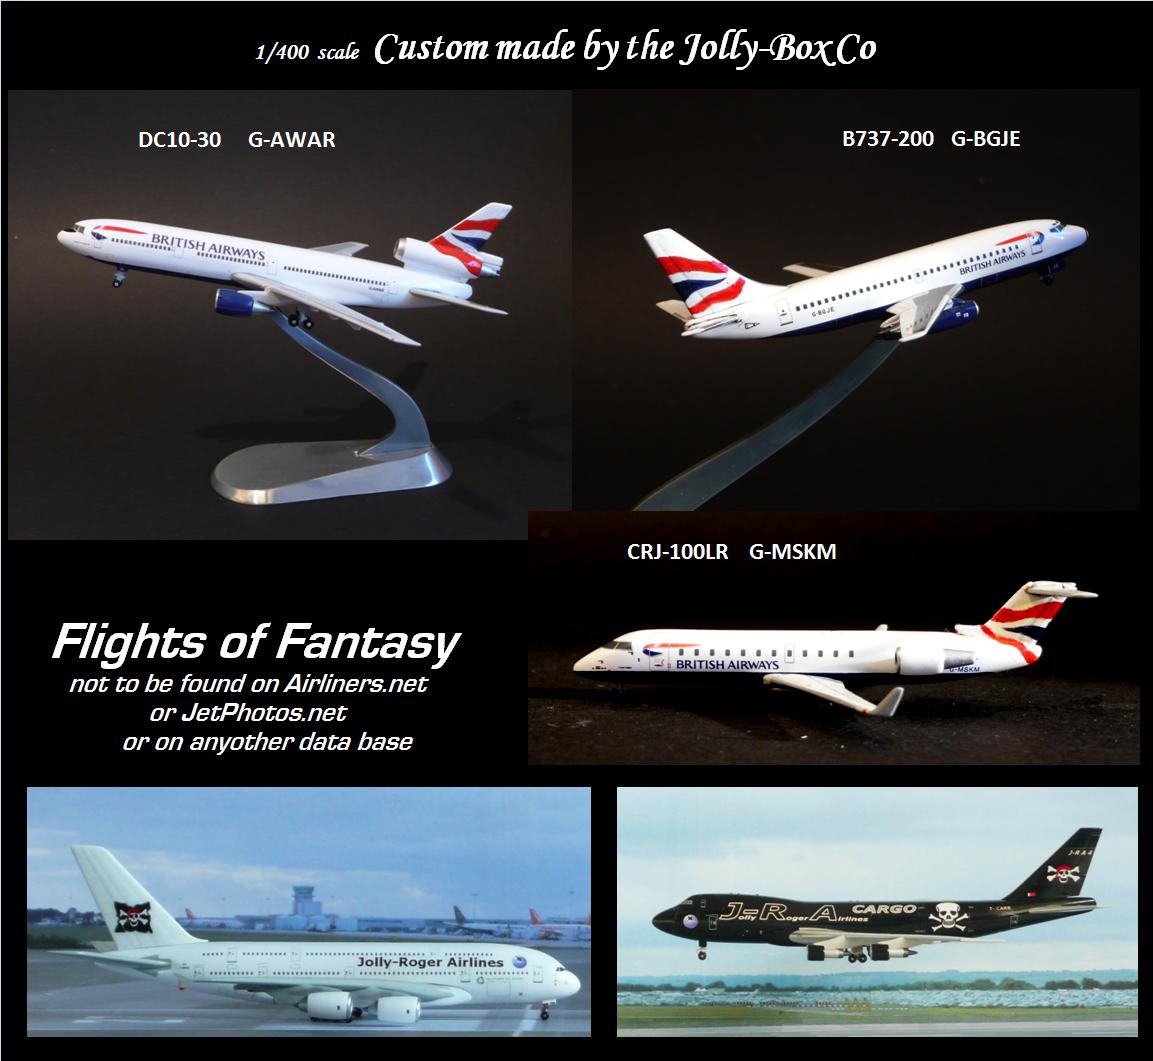
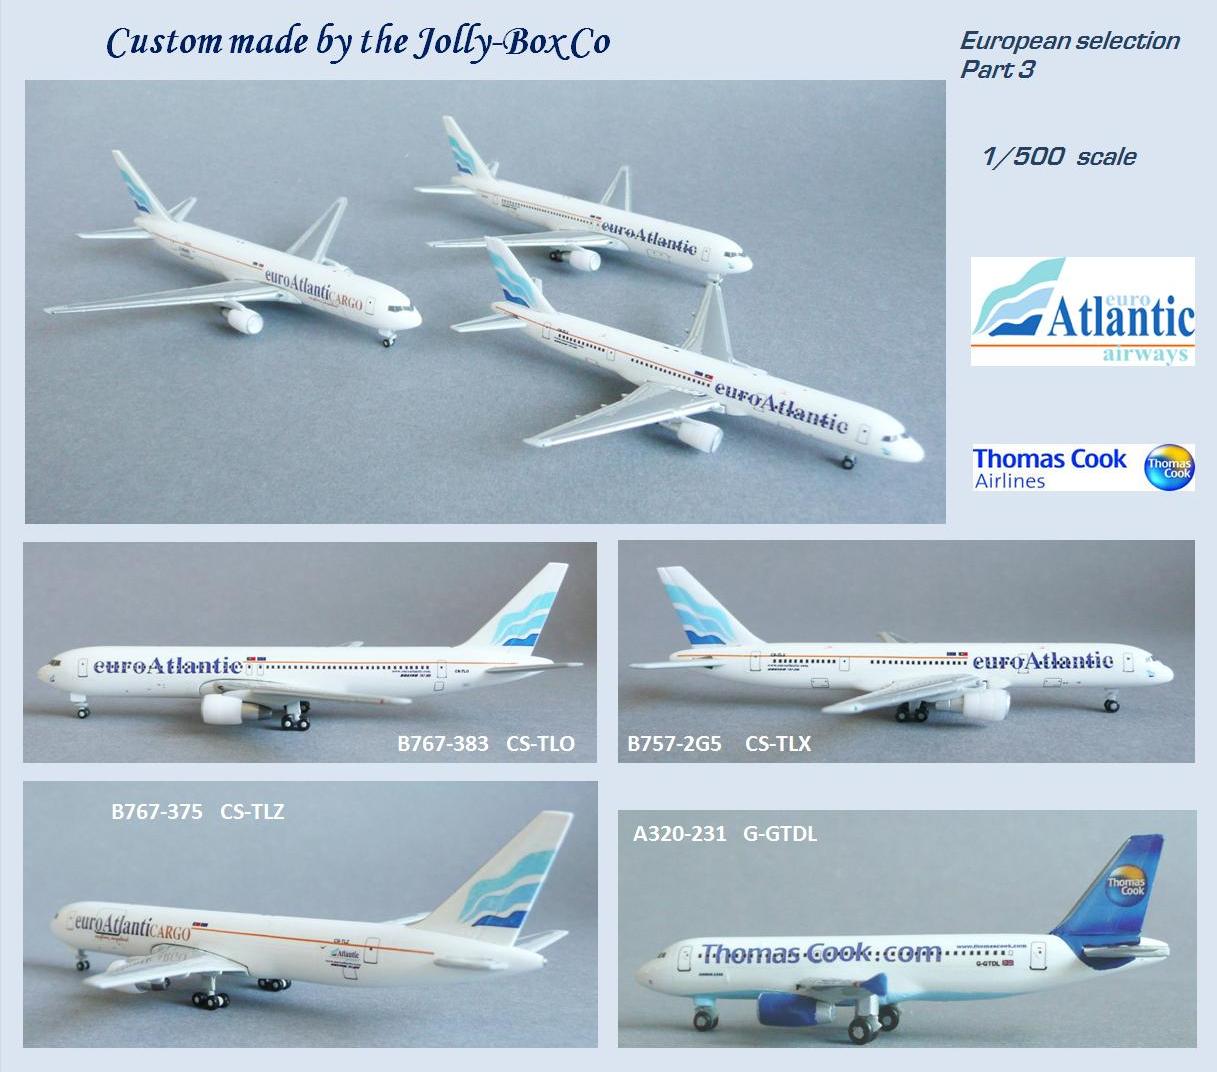
Ever wanted to create your own custom model? Our new Custom Creations series will focus on just that, custom model building. We’ll highlight to custom models developed and crafted by model aficionados worldwide. This week we chat with Mike C. from Jolly Box Co. provides us with an insight of what it takes to design and create a custom aircraft model.
Current Location: Reading, UK
DF=The Diecast Flier
MC=Mike C.
DF: When did you become interested in model collecting? What was your first model?
MC: I first started collecting model planes(airliners) in 1998 and my first model was a 1/400 scale Gemini Jets (GJVIR002, Virgin Atlantic 747 Tubular Belle), closely followed by the first listed Aeroclassics (AC001 BOAC VC10). Both purchased at the Heathrow Visitors Centre shop (ARD) on top of the Queens Building (Terminal 2).
DF: What inspired you to design a custom Easyjet model series?
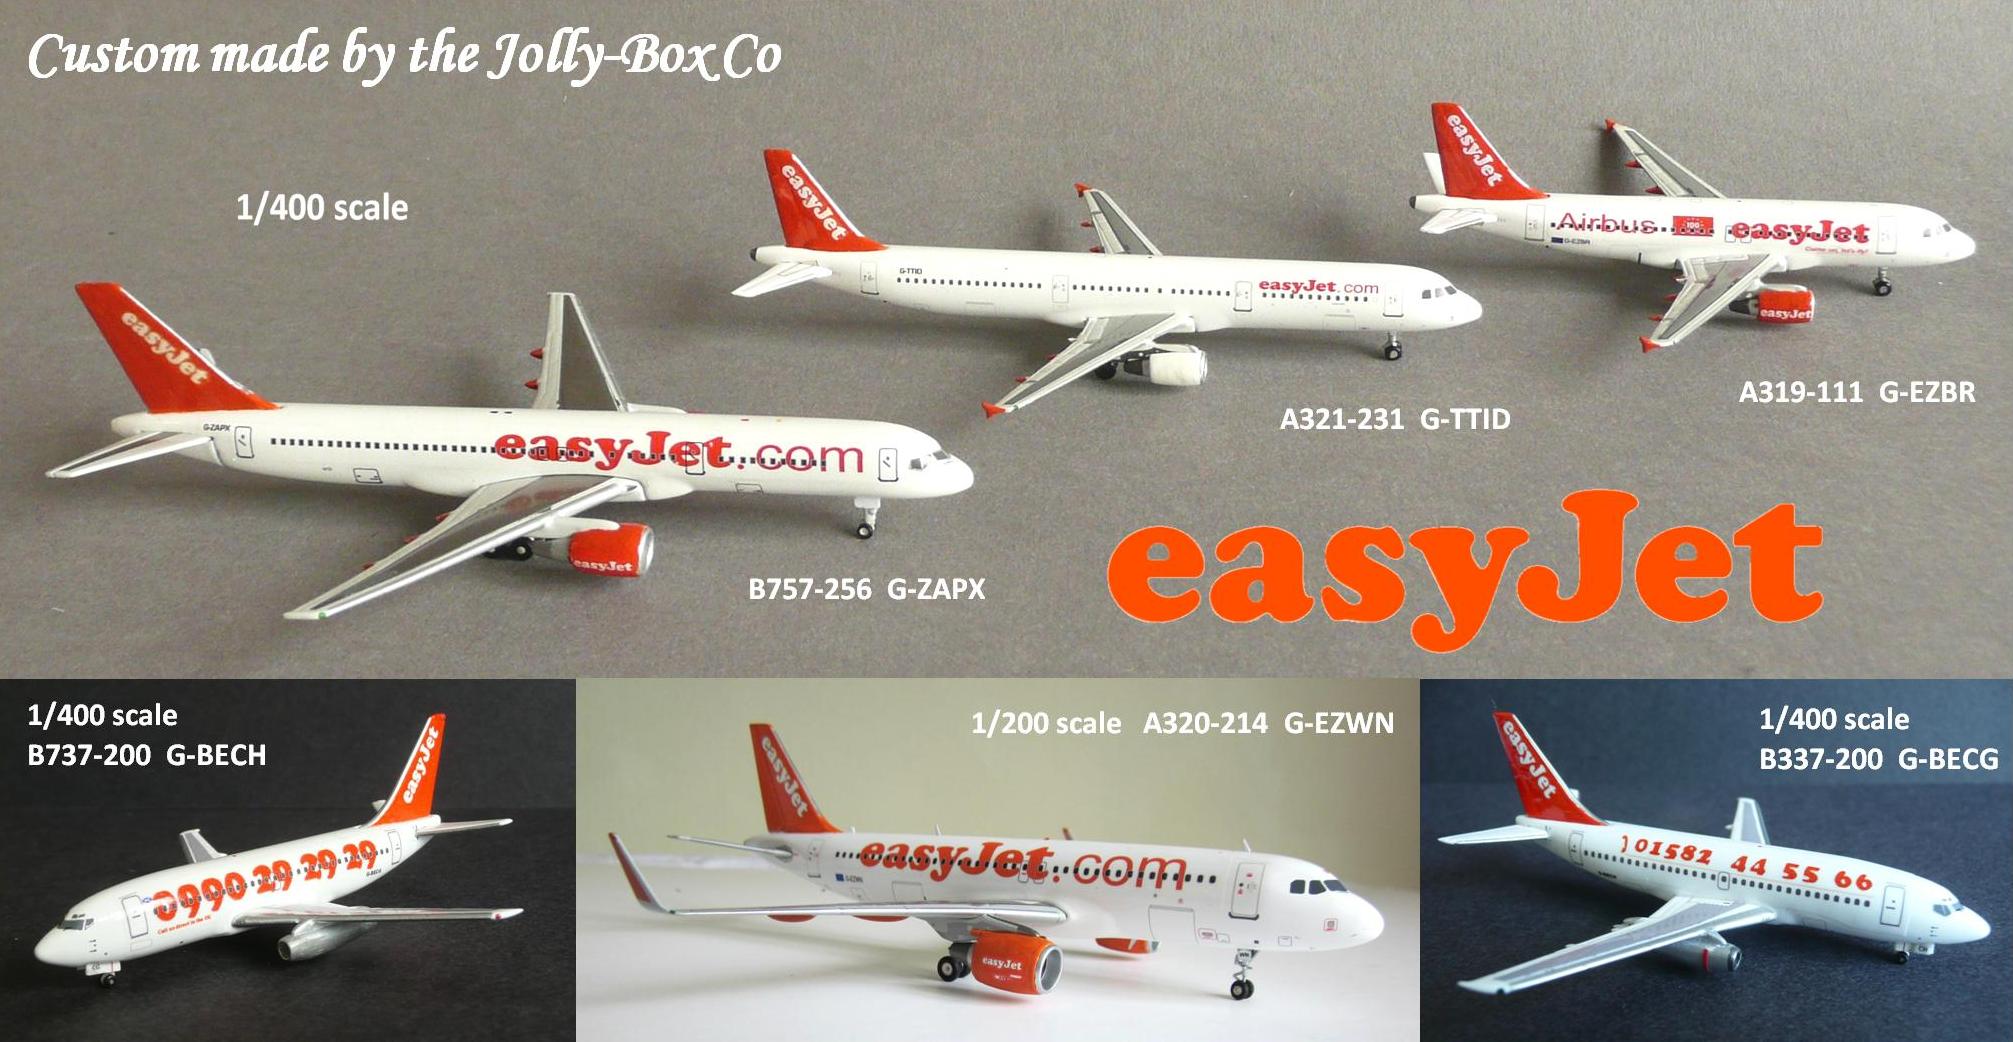
MC: My youngest sons ambition was to become a commercial airline pilot, and after all his training he was offered a job with Easyjet and started work with them in February 2007.Between us we acquired all the Easyjet models that found their way onto the market place before the Company clamped down on unauthorised productions. As a result other Easyjet liveries were not replicated by any main stream manufactures, except for those who chose to run the gauntlet.
It was then my aspiration to create all of the missing liveries.
DF: What scale(s) are your custom models?
MC: I first started customizing in 1/400 scale as they were my chosen collecting format, but later I tried my hand at other scales. To date I have created a total 60 different customs, (45×1/400s, 11×1/200s, 4×1/500s and 3x completely scratch built 1/72s).
DF: What type of mould do you use?
MC: The majority are diecast, but I’ve also used plastic and balsa wood.
DF: What materials do you use to create a custom model?
MC: The list is fairly short starting with:-
- Acetone to carefully remove any unwanted tampo printing using cotton buds.
- Masking tape to outline any tampo print to be removed and for any paintwork I need to add.
- Humbrol model paints.
- Special A4 decal paper, (clear or white), for use on any home printer.
- Gloss acrylic spray to seal the decals to make them waterproof.
- Craft knife and straight edge to cut out decals.
- Humbrol Gloss Coat to seal decals after application.
- Balsa wood, wood glue and sandpaper for the scratch built models.
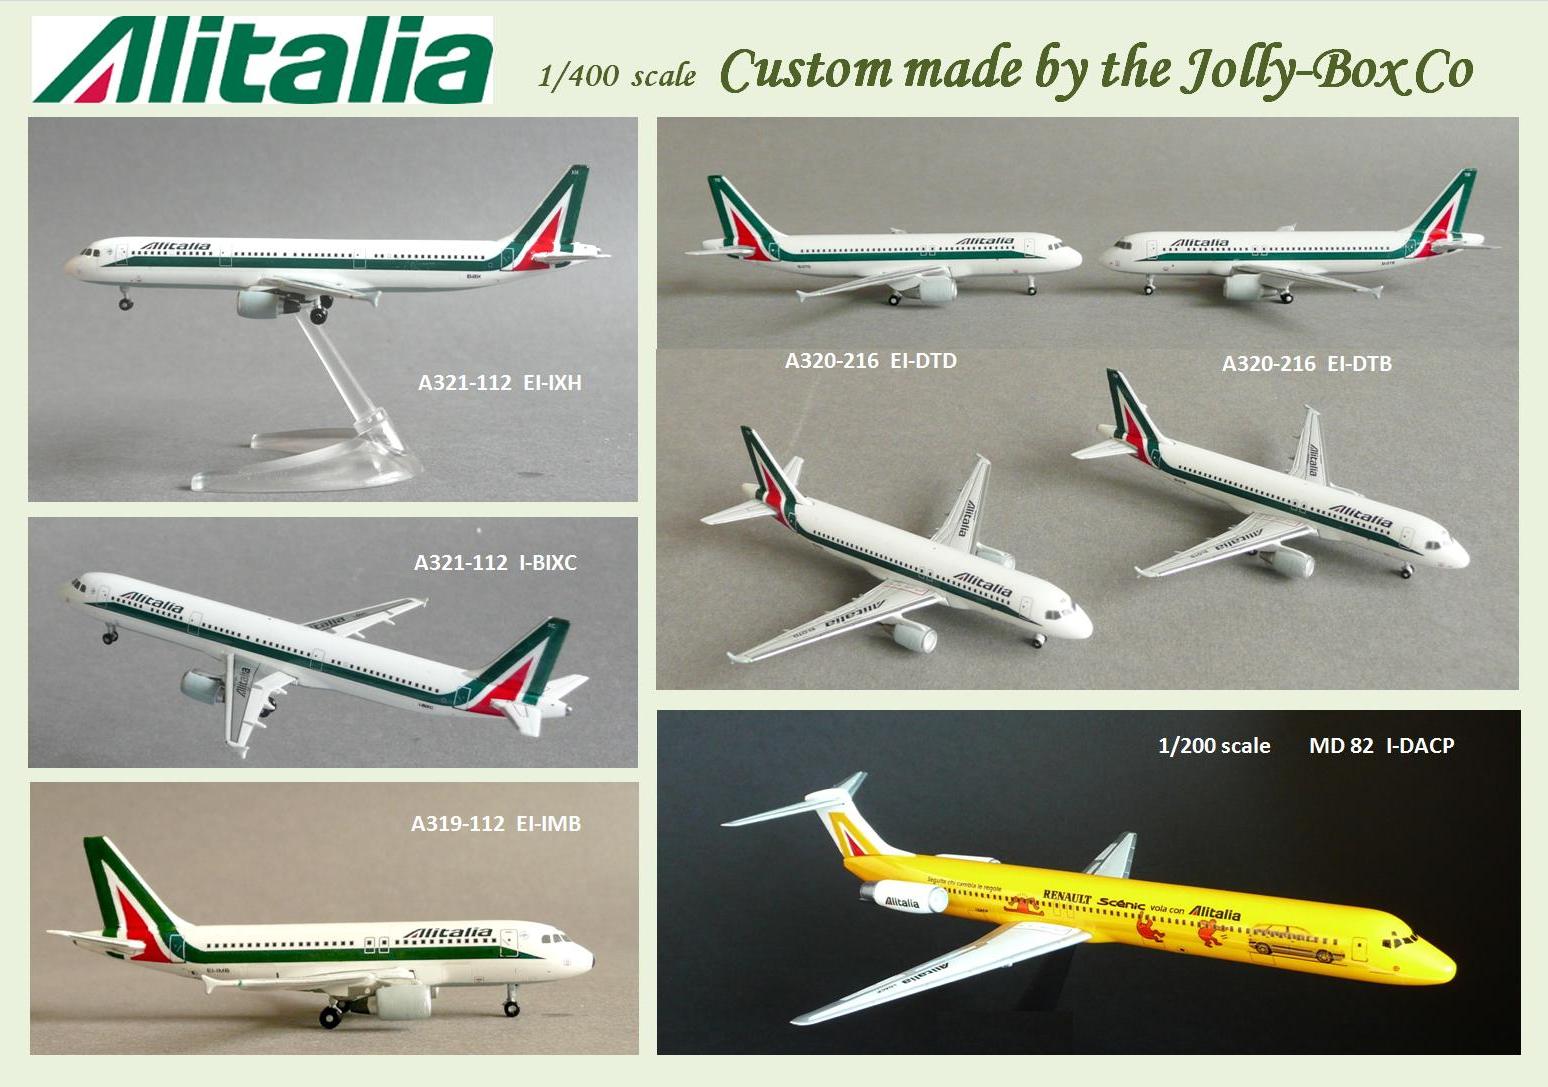
Custom 1/400 scale Alitalia models.
DF: Can you take us through the steps involved in creating a custom model?
MC: My main tool is a computer with a Windows operating system. I utilizeExcel ,Paint, and Photo Editor as the main programs, then;-
- Download the best possible profile images (both left and right) of the plane you want to replicate using its registration as the search criteria.
- Import these images onto an Excel sheet and appropriately size them.
- Then create and size all the windows and doors etc using the standard shapes available on excel, and line them up with the window and door pattern on the downloaded picture image.
- Using MS Photo editor crop an image of the tail (both left and right) from the chosen plane images and import them onto the excel sheet. These are used to make the tail decals.
- Next, do an image search to capture the all the correct airline names and logos that appear on the aircraft together with any other logos that may be relevant, such as an Airbus or Boeing corporate logos, national flags, etc. Then crop these image (if necessary) and import them onto the excel sheet where you can size and place them the suit. So you are creating a complete pattern for each side of the plane. (Note: – the last image you import onto the excel sheet will overlap any previously imported images, so you may have to some copying and paste to get the layering right).
- Once you have a complete pattern select a print area and do a print out. To get the correct size use the percentage print option. This can be a trial and error exercise until it fits the model. Best method to do this is to measure the distance between the front and rear doors on the donor model before you acetone them off and then measure the same distance on the print out to get a match.
- Finally using the decal paper print out the pattern created and the seal it with 3 coats of gloss acrylic spray. When dry cut out and apply using the waterslide method. When dry paint the entire model with a clear gloss coat.
If you wish to cut out the above 7 steps you can usually get premade decals readily from a variety of sources. However in my case readymade decals where not available. My Achilles heel is that my home printer cannot print white so for the first time I had to outsource for my latest Easyjet creation.
DF: How long does it take to build a custom model?
MC: Finding the “right” donor model take the most time as I always tried to get as near all white model as I could.
Once I received the donor model it would usually take me a week to complete.
DF: Any advice to would be custom makers?
Try not to create something to complicated and involved. Select a “simple” livery that can be applied to a near all white donor model. If you need to put white or light coloured printing over a dark coloured body, it may be best to buy your decals rather than creating your own.
DF: Any future projects?
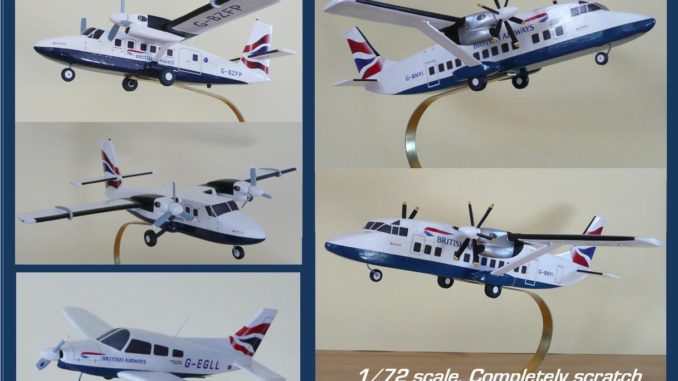
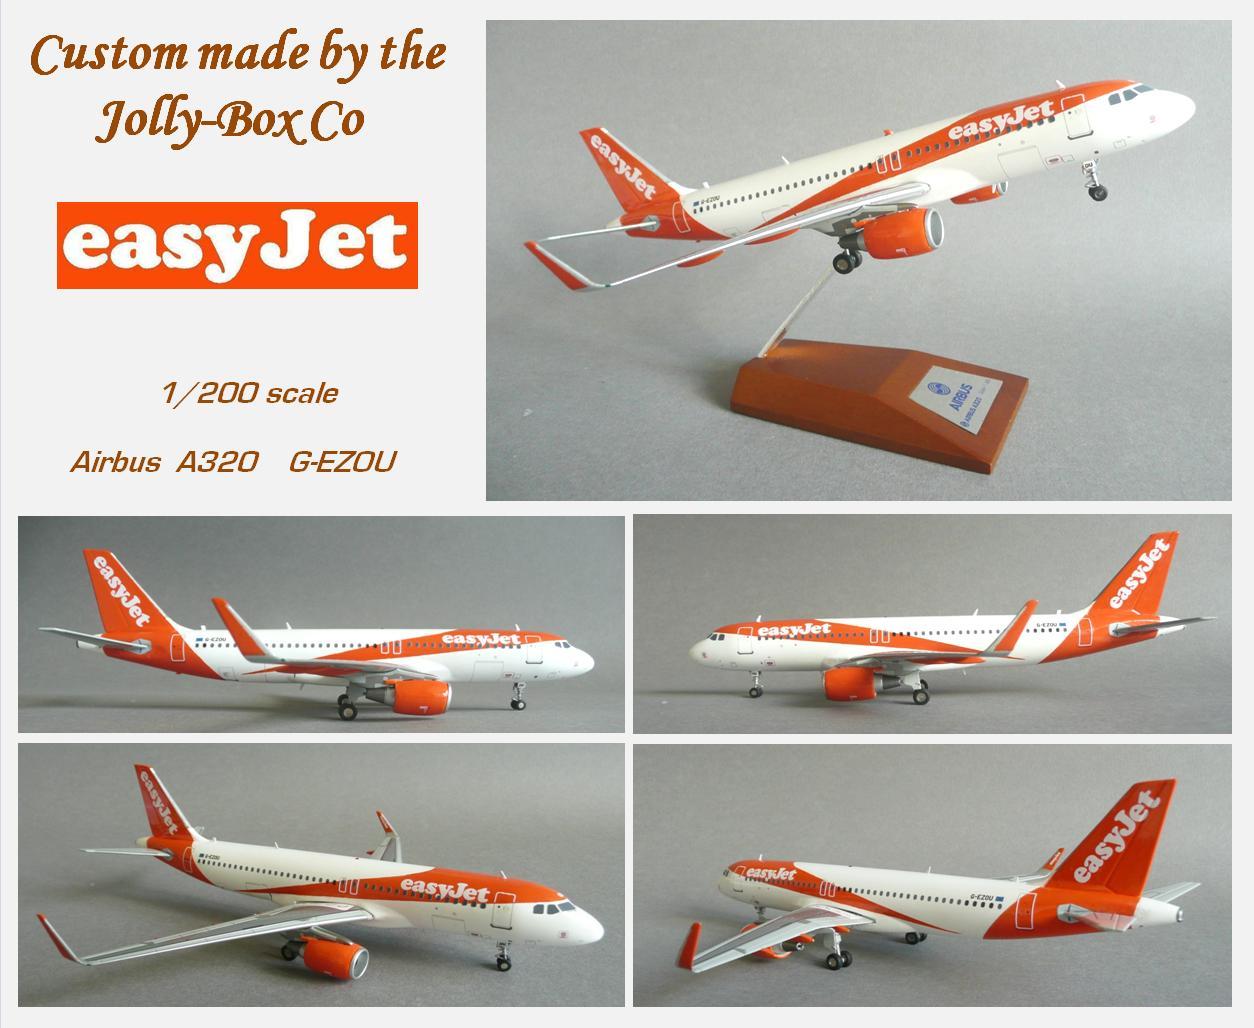
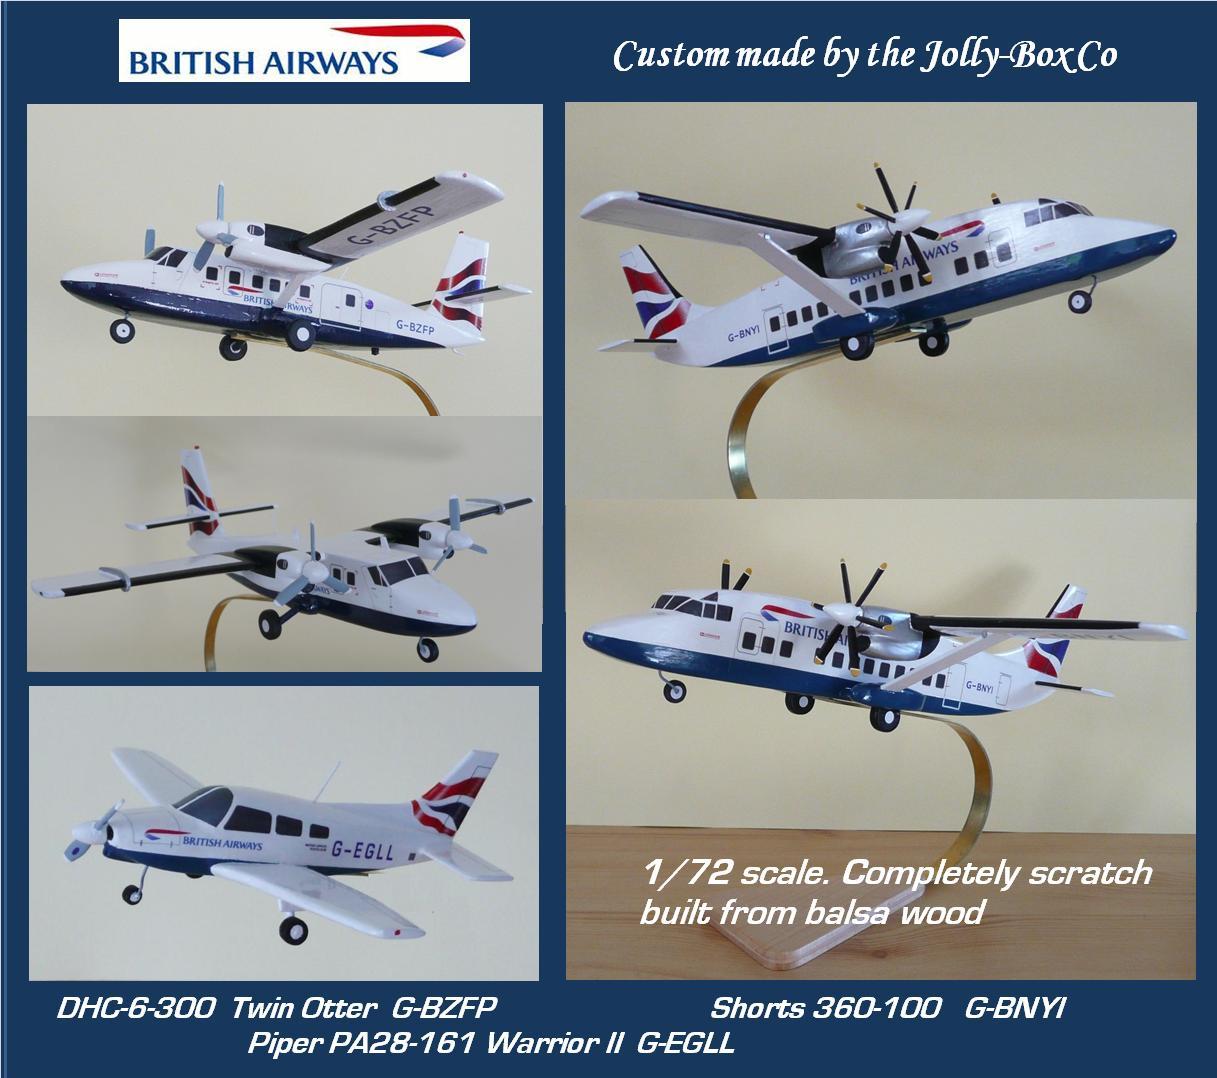
MC: Having reached the age of 71 years my eyesight is not what it was nor is my hand eye co-ordination that good, so I only have one project to complete, (by request of my pilot son who saw my new colour Easyjet G-EZOU), and that is a 1/200 scale A320 Easyjet 250th livery G-EZOL.


I know Mike and have one of his custom Easyjet 747 models in my collection. The quality of the model exceeded my expectations and you would think it was Tampo printed.
That should read ‘737’, not ‘747’!
Where can these be ordered cannot find any info