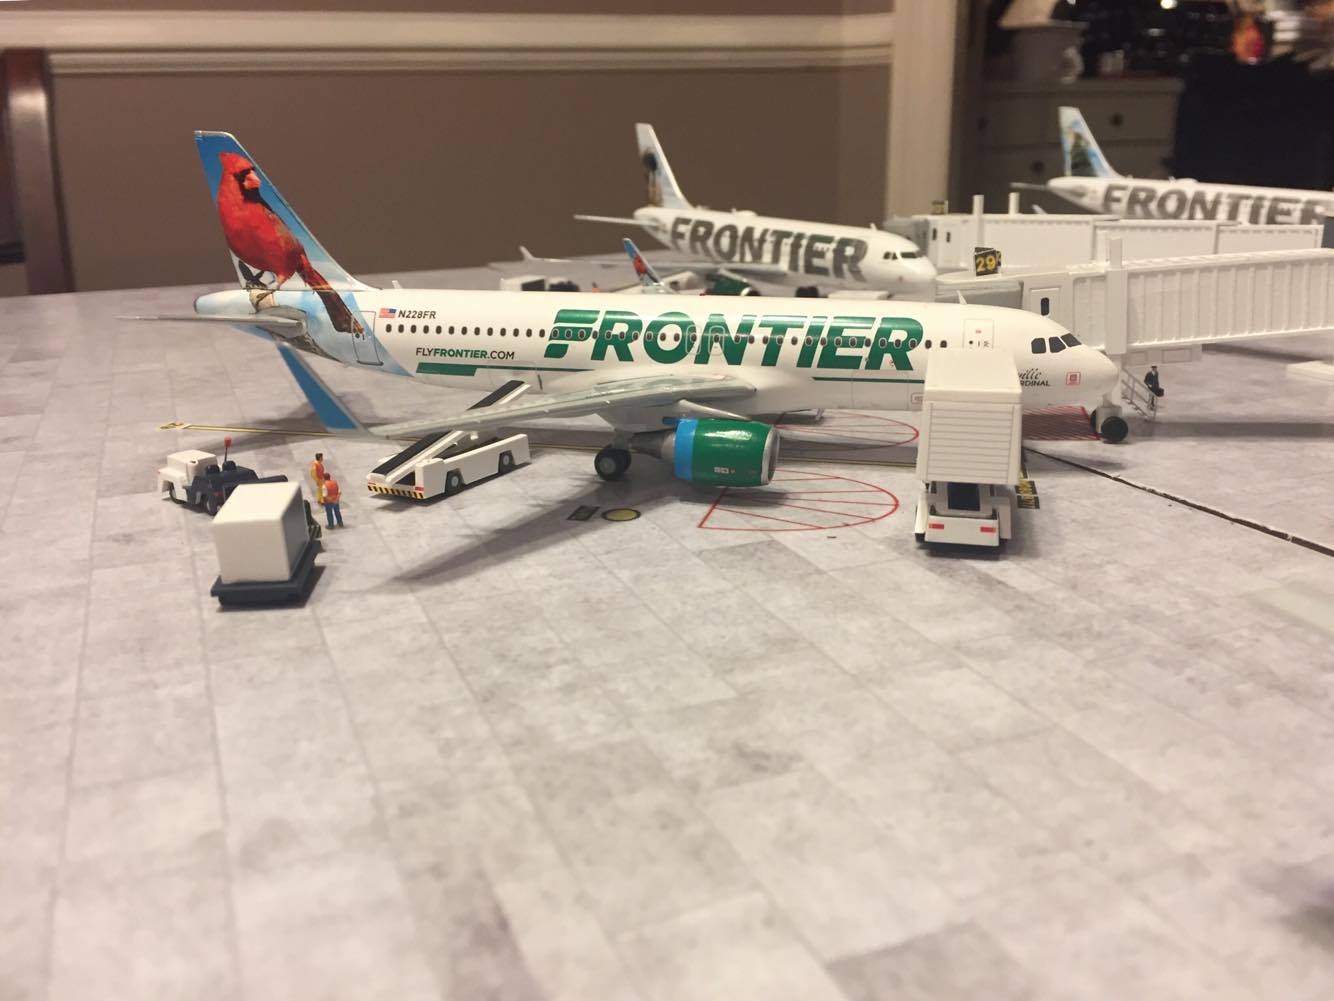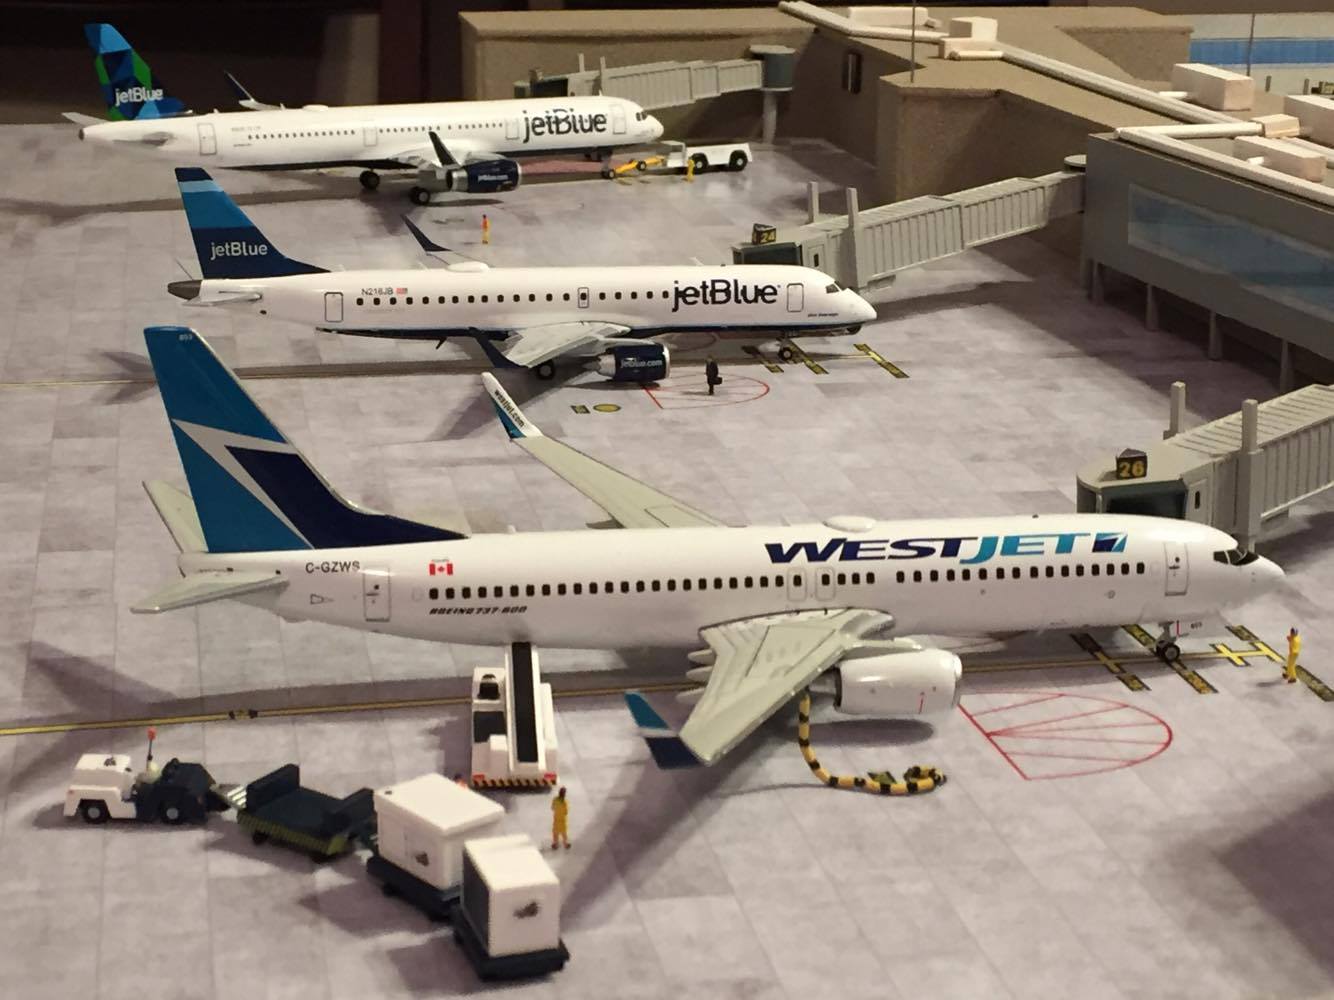
In this week’s Airport Spotlight we take a look at one of the most well-crafted, and detailed 1:200 scale collector airports as we venture to Pat Michael’s custom designed 1:200 scale airfield.
DF=The Diecast Flier
PM=Pat Michael
Current Location: Meridian, MS (USA)
Closest Airport to your hometown? Meridian Key Field (KMEI)
Airport Scale: 1/200

DF: Do you have a name for your airport?
PM: I don’t have a name for the airport, although my project started as a 1/200 scale of KSAN.
DF: Can you tell us when you began to develop an interest in aviation?
PM: I grew up in aviation. My dad owns an airline in the Virgin Islands called Coastal Air. It operates a couple of twin engine Cessna’s between the Virgin Islands and Nevis, Dominica and Anguilla.
DF: What do you find most fascinating about aviation?
PM: I am a fan of all aviation. Growing up around light civil aircraft, to flying military aviation, and finally commercial aviation, I am into it all.
DF: What is your favorite airport?
PM: That’s a tough one. But I guess I would have to go with San Diego Lindbergh Field (KSAN). Great location, unique approach, and lots of airlines operate there.
DF: What inspired you to design your airport?
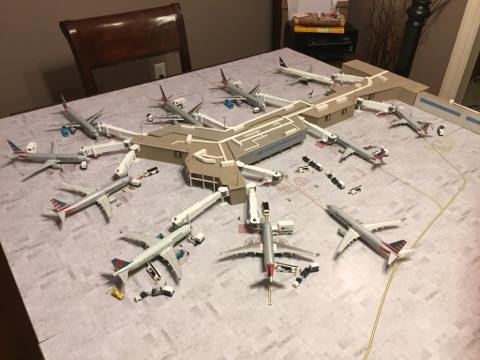
PM: Shortly after I started collecting 1/200 models, I think it naturally progressed to designing a small airport to showcase them. Initially, I was going to build Terminal 1 of KSAN. Then it grew to Terminals 1 and 2. While in the process of making Terminal 2, I decided to make a custom airport in order to house all the custom commuter aircraft I had made.
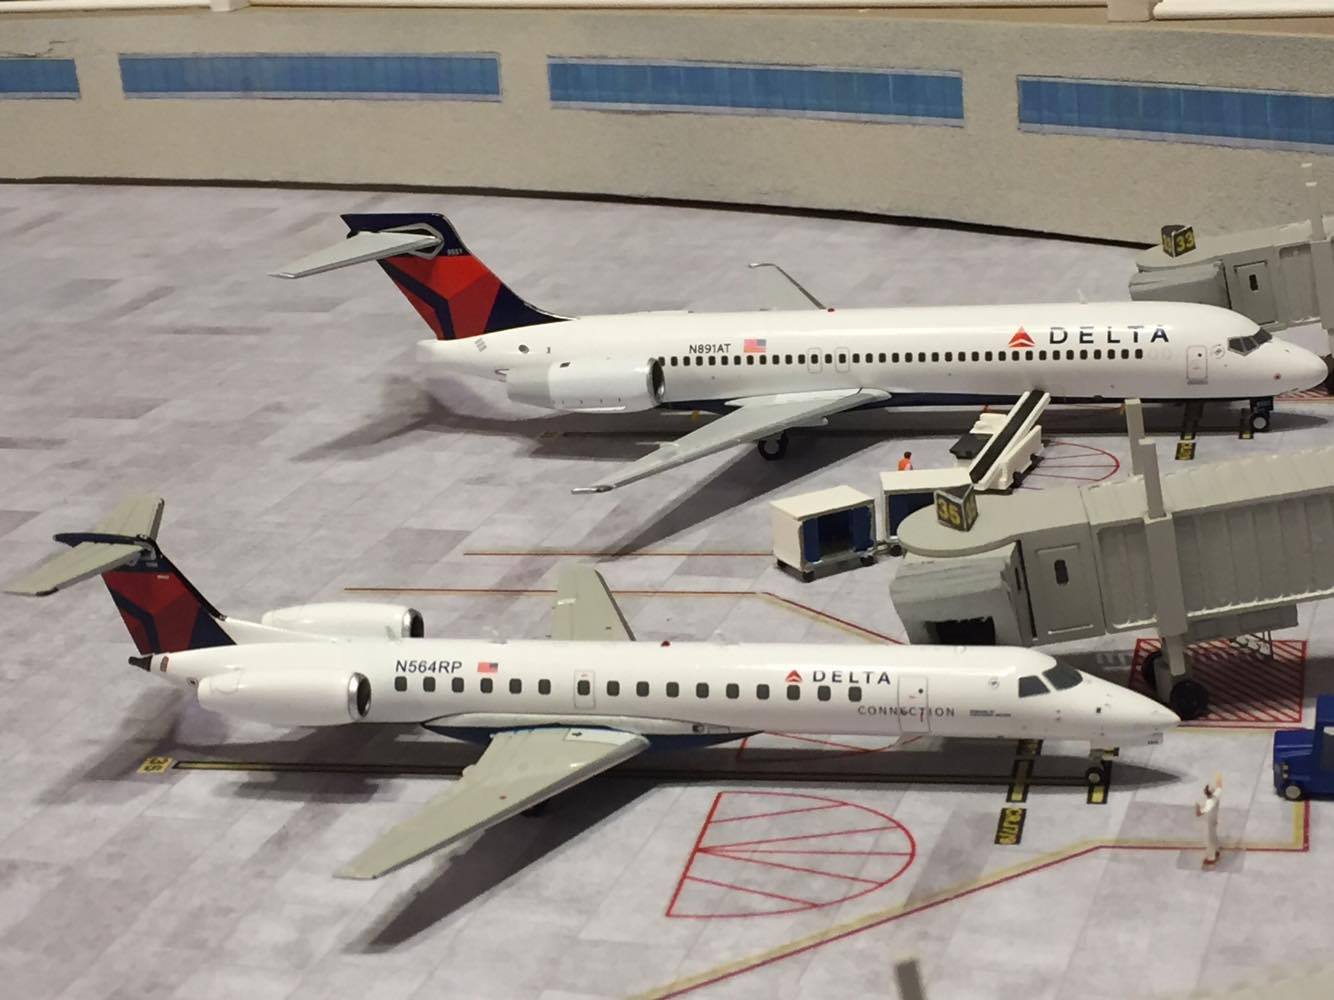
DF: What is the largest aircraft that’s part of your airport? Smallest aircraft?
PM: Largest currently is a 777-200. Smallest is a Saab 340B.
DF: Favorite aircraft that is part of your diorama collection?
PM: That’s tough. But I guess I would have to go with the first model I bought, a Gemini200 Alaska Airlines 737-700. I love the old Alaska livery.
DF: How many aircraft are based at your airport?
PM: Currently I have two airport setups. My KSAN Terminal 1 mockup houses 16 gates, and my custom designed airport has 28 gates. I would love to combine the two, but space is tough when working in 1/200 scale. In order to do this I’m going to have to buy more tables!
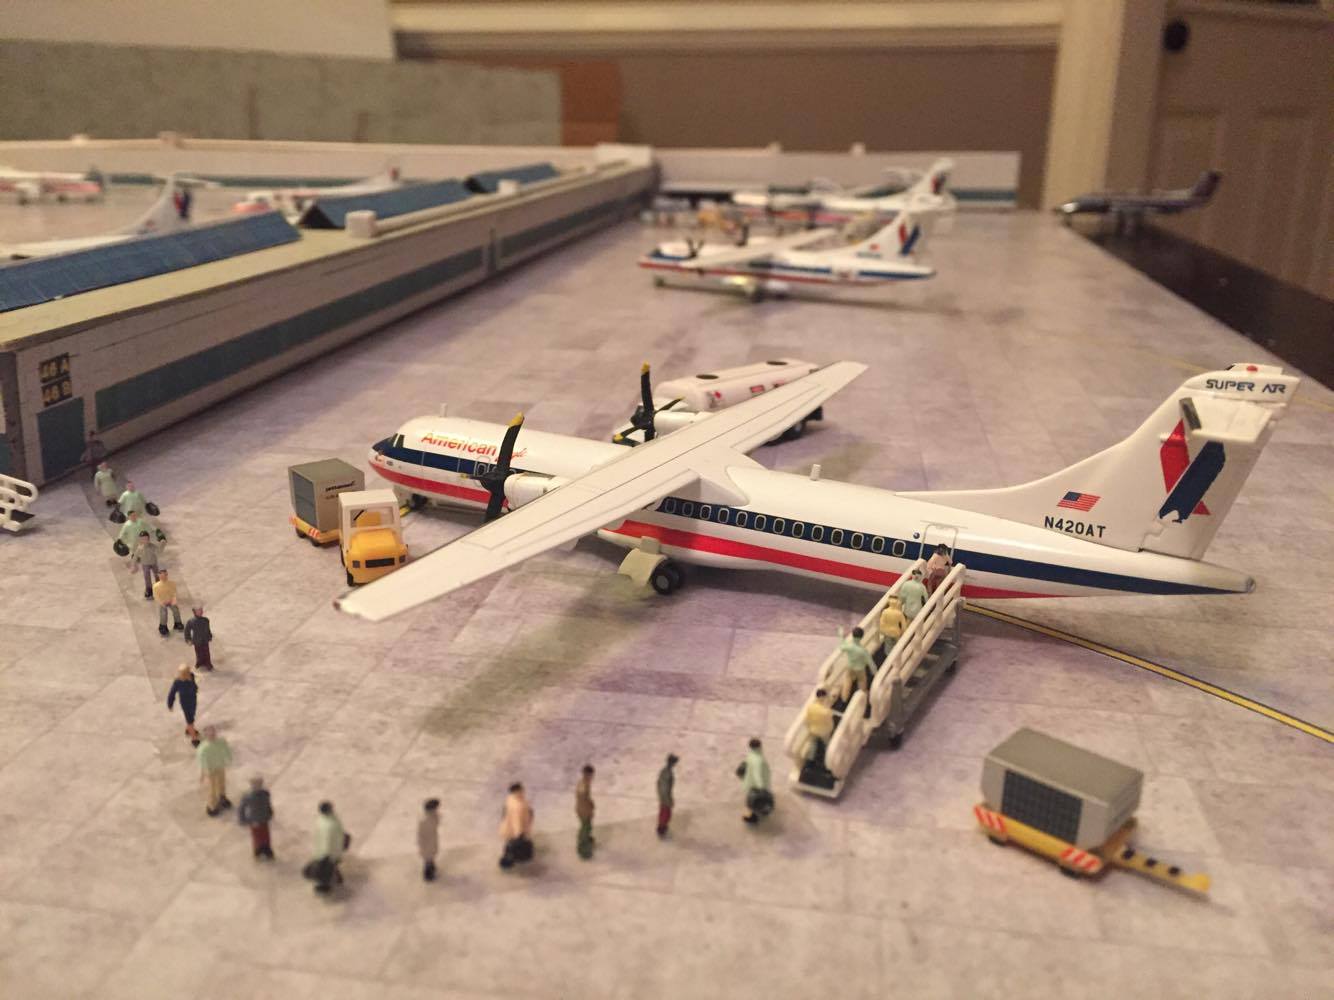
DF: What different types of products did you use in the development and creation of your airport?
PM: My airport is mostly made of wood and cardboard. I have found it is the easiest to work with. I am in the process of working with someone who has access to a 3D printer to further design one of my next commuter terminals. I get most of my supplies at Hobby Lobby and Lowes. When I make my round terminals, I discovered that 11” diameter hat boxes work well.
DF: I’ve noticed that you managed to create realistic diorama by adding gates, ground service equipment, parking stand markings as well as passengers to your layout. Can you explain how you added some of these details?
PM: My airport has really progressed since I started it 18 months ago. To make my first terminal, I used cardboard hat boxes and 8mm and 10mm plastic tubing for the gates. After a lot of trial and error, and scavenging different materials and parts online, it really came together. For the ground foils I found some free ones online to download. For this terminal, all the ground service equipment was Gemini200.
When I started building Terminal 2, I started buying the Jetways from Mozart. They were very expensive, but the quality is exceptional. I currently have about 30 of those.
For my custom terminal, I decided to go to the next level. I started with adding passengers for my commuter aircraft after I bought a 100 pack on eBay. For the airport workers, I found Preiser made some very high quality people. I cleaned out the two sites that had them.
The next major milestone was when I found someone who could design just about anything I was looking for and print them on his 3D printer. This really opened my airport to amazing detail. Now I have commuter stairs, GPU’s, high quality luggage carts, belt loaders, gate check carts, more jetways, and that’s just the start. 3D printing is an amazing thing when it comes to custom airport designing.
Also for my custom terminal, I went away with the predesigned tarmac detail, and custom designed all of the markings on my computer. I print the designs on adhesive backed paper and then adhere them to the foils. It takes time, but you get a much better product than using the pre-made designs.
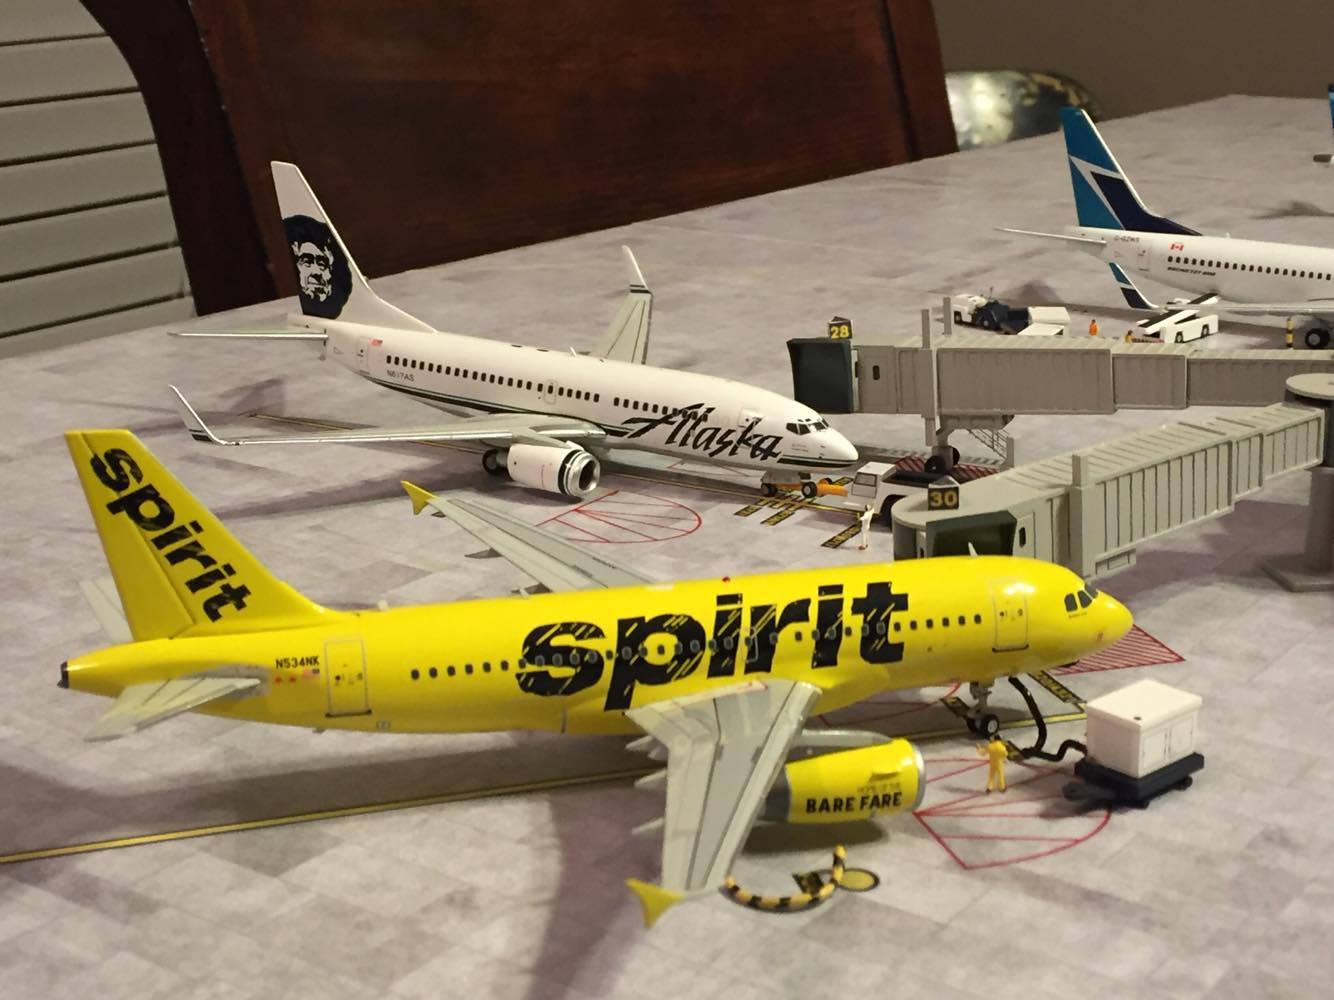
DF: Can you tell us how you designed and constructed your airport?
PM: First I decide if I’m going to design it myself, or model it after an actual airport. Then I sketch the design out on paper and setup the models around it to make sure the spacing is correct. Using mostly wood and cardboard means I’m on my saws cutting and shaping the wood to fit the design. Curves are the hardest part to make. Sometimes I’ve had to get real creative in making curved surfaces in my airport.
DF: What ground foil product do you use for your airport?
PM: I purchased blank foils from a guy in England. I glued them to particle board I got at the lumber store, and then custom designed the markings on my computer. I printed the designs on adhesive backed paper and adhered them to the tarmac.
DF: Are there any future expansion plans for your airport diorama layout?
PM: Of course! At some point I am going to combine and expand my two current terminal setups. The toughest part is space. Working in 1/200 scale gets really big really fast. I am looking into buying some plastic outdoor tables to use to expand with. My goal is to have about 50 gates in total. The dimensions will be about 8’x8’.
DF: Do you have a website where other collectors can see your airport?
PM: The best place to check out my airport is on my YouTube channel of “foster398”. I also post a lot of pictures on D.A.C (Die-cast Aircraft Forum) and on Facebook on various model collector groups.
DF: Thank you very much for your time Pat!
Want to be part of our Airport Spotlight Series? Send us a photo of your airport diorama along with a brief description of your layout to diecastflier@gmail.com!

